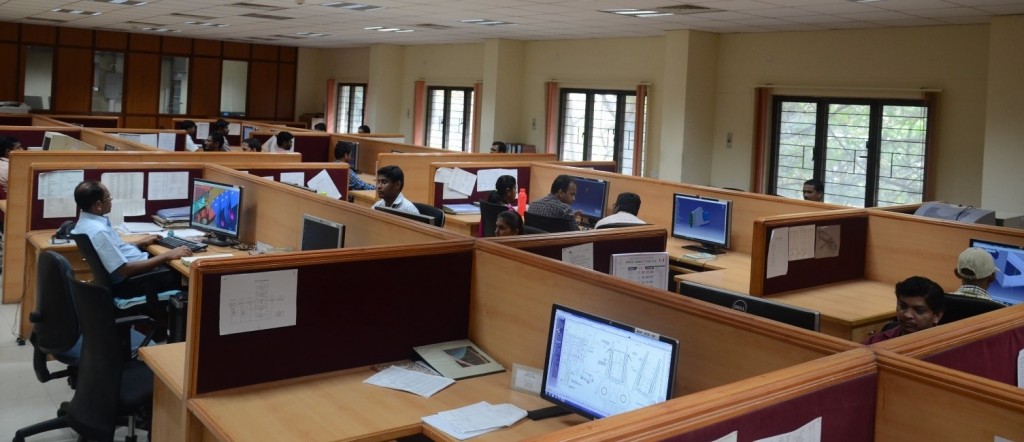
Digital Image Correlation (DIC) Measurement Facility
Digital Image Correlation (DIC) technique is a non-contact method of measuring surface displacements of an object subjected to a driving force. DIC technique uses two cameras to image the surface of a test object before and after the application of a load. Using a mathematical cross-correlation function the deformation of the surface is calculated and a strain field is determined. The use of a two-camera system allows the software to compensate for any out of plane displacement of the test article.
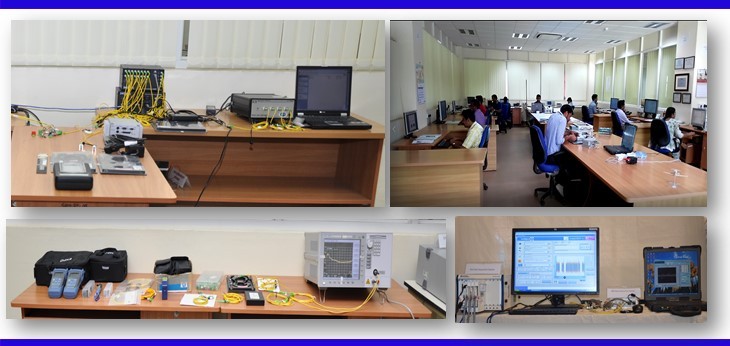
Advanced Composites Division (ACD) has a DIC facility suited for full-field deformation and strain measurements during quasi-static tests. This facility includes cameras (15 fps, 5 MegaPixels), various lenses, Image acquisition and processing softwares. This facility has been used successfully to measure deformations and strains in composite specimens measuring a few mm in size to large composite panels measuring about 700mm by 450mm in size.
Specifications: Portable facility, which can be used for measurements on test specimens of size ranging from 10 mm to 10 meters. DIC images can be synchronously acquired along with other analog data (load cell, thermocouple, and extensometer).
Techniques applied in this facility: Full-field deformation and strain measurements
Major clients of this facility: AR&DB, Airbus
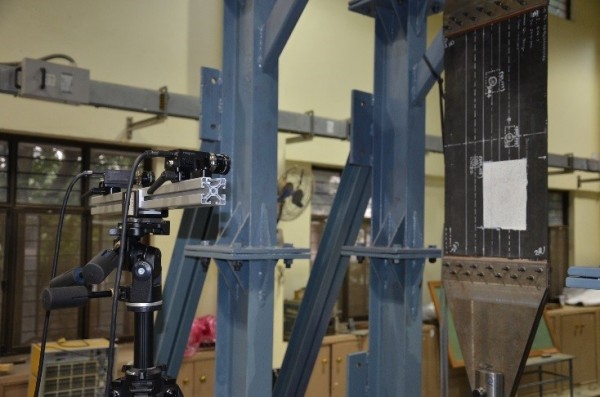
Figure 1: 3D DIC setup for full-field measurements in a composite panel
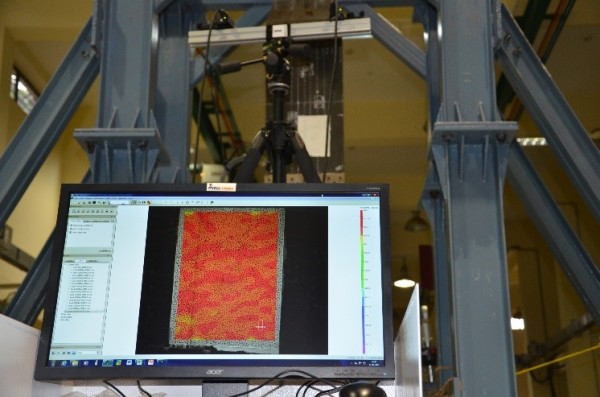
Figure 2: Full-field strain measurements from DIC
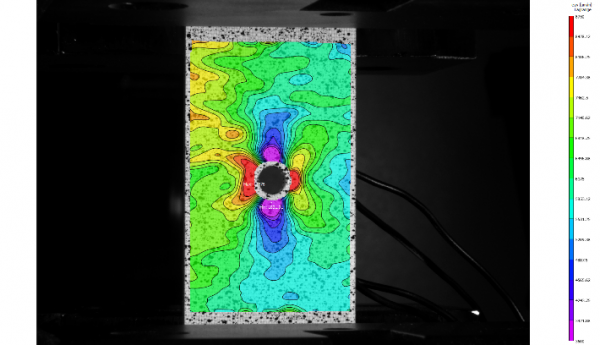
Figure 3: DIC on a specimen with hole – stress concentration

 English
 हिन्दी